Quick garden worm farm
This is more of a, 'great way to process garden offerings', as a style of worm bin, as apposed to 'worm farm' in the traditional sense that most people would think of. I feel like when people hear 'worm farm', they think of the commercial box style one you continual add and panda to. This is a set and forget system. And the end results delicious and so easy to use, without the constant monitoring.
A 'worm farm' can literally be any shape or size, as long it has good drainage, bedding, food, is kept damp, and somewhat insulated from extreme temperatures and weather fluctuations.
This was at our previous rental property and I'm so glad I have this account of how adaptable these systems can be from one rental to the next.
...
.
🍃🍃🍃
Back story, we have a rolling system of compost to worm bins to harvest. When harvesting we use the worm castings in our potting mixes, to top dress pots, and for making worm tea.
🪱
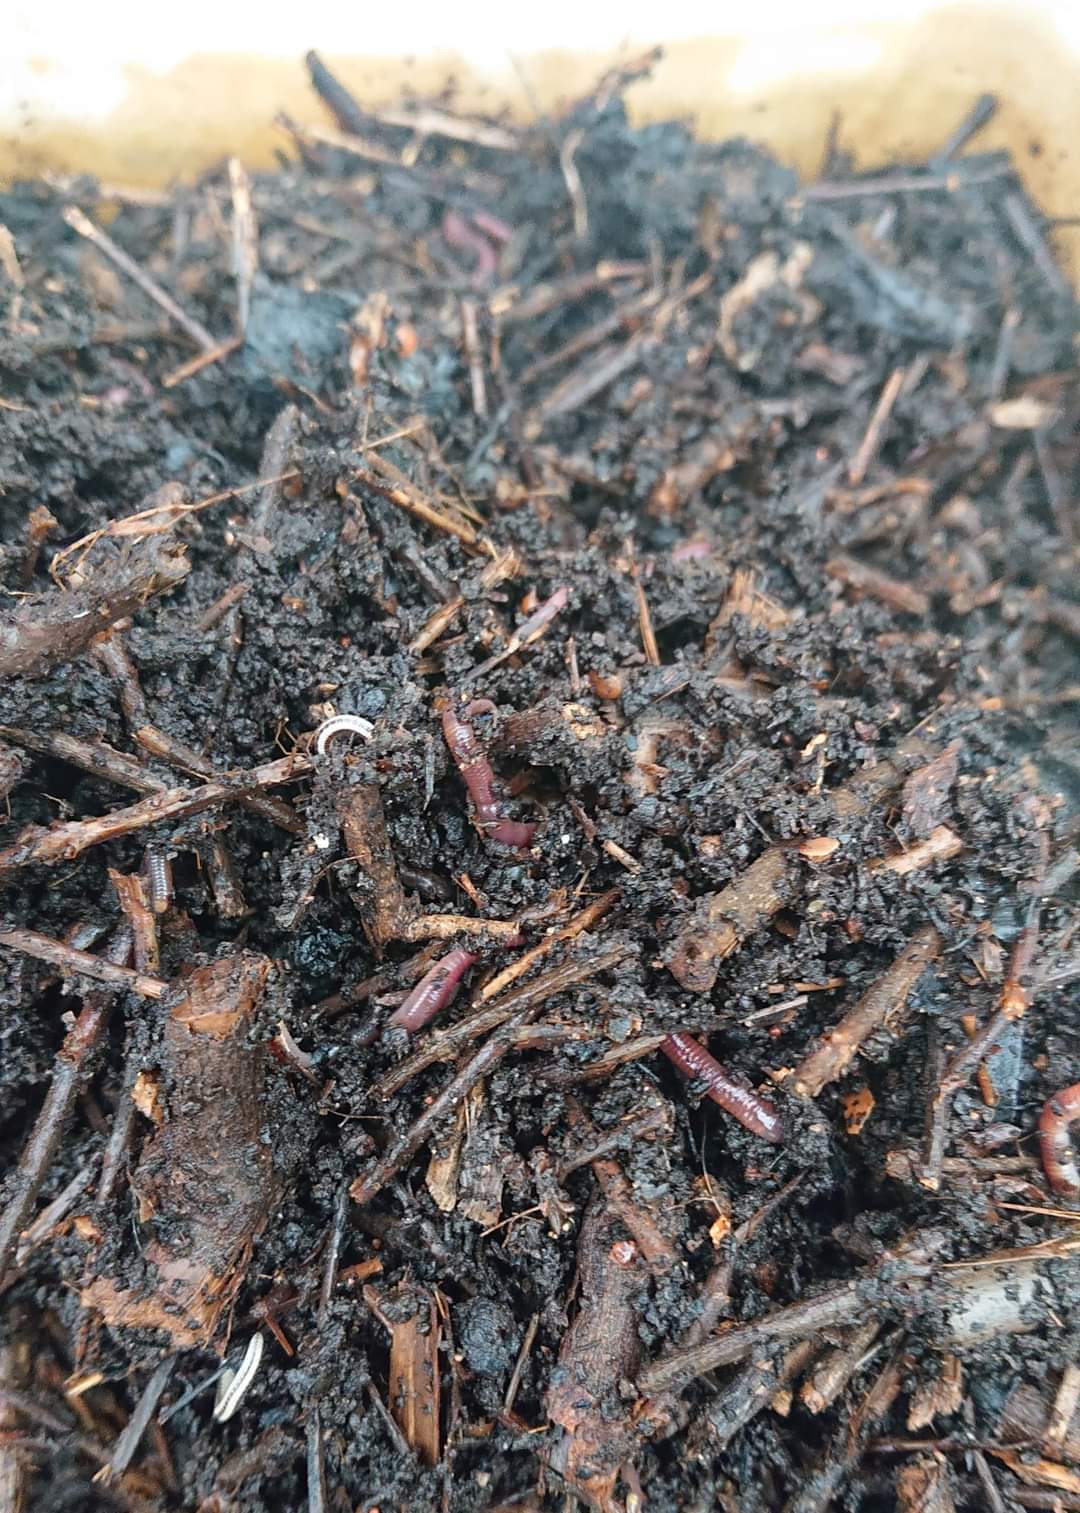
When using the castings any worms naturally move to bottom of the bin away from light. As we get towards bottom of the worm bin the contents become thicker and more potent.
🪱
This bottom section of the worm bin is full of worms and eggs, that we then use to start a new worm farm. Kinda like using a scooby to start a new batch of kombucha. It's usually around 1/8 of the bins capacity.
🪱
We place this bottom section in lidded tub, if I'm not using it straight away. Having them in a smaller tub is more manageable, I can keep them in sight - in mind, and not forget them.
🪱


🪱 Today's Quest 🪱
When we first moved in, the gardens here were extremely neglected with a few small shrubs, and a few bottle brush trees. The garden bed was literally just compacted dirt, builder rubbish, and a half ass coat of tiny rocks.
This east facing corner of the garden was always hot, dry and very compacted.
🪱
As low income renters we needed a quick, cheap, easily accessible, neglectable, drought tolerant, hardy, and forgiving solution. We now have large Tradescantia (edit it's actually Callisia Fragrans) growing around the corner and down the rock retainer wall, that ticks all the boxes.
🪱
Now as a living mulch, it has created its own micro-climate that stays somewhat cool, and moist. Its a great bug habitat that encourages and supports bird life, protecting and building the soil underneath. The shape and structure of the plant naturally captures and retains water with its crown, and in its fleshy growth, as well as slowing water run off to soak in, and preventing soil erosion.
Aaaaaaand it's an abundant renewable source of green leafy goodness to add to composts and worm farms!!!
🪱
This Tradescantia (again, correction Callisia Fragrans) gets cut back mildly every three months or so, and randomly gets harvested as I need its fleshy greens to top up, or add a quick feed to a worm bin. Or if I need a quick protection layer as a cut green chop n drop style mulch. We then hard prune once a year to really bring it down in size, and see what's going on underneath.
🪱
⚠️ Warning ⚠️
This plant can become a menace if used inappropriately or aloud to invade native areas. It is very easy to remove with a shallow root system and large growth, making it easy to pull up, or rake up with a metal rake. BUT one piece left, and she'll regrow!
🪱


🪱
No matter what type of worm farm your creating, you will always need some form of bedding. We keep a basket near our kitchen to collect any papers or cardboard. Once full it all gets scrunched and ripped up, and put in this green tub to store outside.
🪱
Next we fill the green tub with water from the kitchen sink and let it soak for a day or so. We keep an ice cream tub in the sink to capture water from washing hands or rinsing plates.
🪱
As you can see, every step of the way, it's all a linked system, that flows in time, and there's a lot of forgiveness at each stage. The sink tub gets emptied at random spots around the yard, or not used at all some days. The green paper tub can sit there soaking as long as it likes untill I need it, as the paper brakes down I can add more. Today I didn't have any soaking, and havnt been using the sink tub, so I've just used the hose. While we always have these systems in place, some days we just don't use them, and that's ok.
🪱


🪱
To build the worm farm we use a 60lt plastic bin with holes drilled in base. We then throw in our scrunched / torn paper and/or cardboard in the base. Ideally it will be pre soaked but if not just hose well. This is th worm bedding.
🪱


🪱
Next we add our wormies from the from the last worm bin. Gently spreading them out over the bedding.
🪱


🪱
Now we fill the bin with any green leafy matter. I have a few of these worm bins set up around the yard at high function points. Eg beside my potting bench or Beside the fast growing shrub that needs trimming once a month. Today it's specifically the Tradescantia (correction, Callisia Fragrans) while we do the annual hard prune.
🪱
These photos below shows the structure of these plants, how thick and juicy they are, and you can see how they easily capture any available water, even if its just dew. I make sure to cut them up small to prevent it growing in th bin, and also so we can really jam the most in there.
🪱


🪱
Now the bin is full we move it to a warm spot, (not hot), and throw a lid on. Our lid has a hole for habitat of other critters to come and go as they please.
🕷️🪲🐞🐛
🪱


🪱
Easy, yes?
🪱
☝️If youd like to create a worm farm but don't already have worms, hit up your local community garden, ask around garden groups on your socials, Permaculture groups always have people willing to share and most of us get a joy spark in doing so!!, or as a last resort you can buy them from Bunnings, or online.
🪱🪱🪱
Please feel free to DM if you have any ws or want guidance.