Got Worms?
This was one of our first blogs from 2020! naww!
...
Love a good hyper focus? Got Worms?
We do!
Do you want your own renewable supply of soil conditioning goodness? Are your food scraps still going to landfill? Time to start composting, worm farming and creating your own golden soil that will not only have your plants booming but you'll also be able to pass on excess to friends, or guide them through setting up their own fix.

Rough enough is good enough! You don't need to go an buy a massive expensive set up. I started with an ice cream container of worms, and a bucket. Start where you are with what you have, just start.
⛧⛧⛧
For those that dont have freedom of outdoor space, there are a few alternatives, such as 'Share waste', community gardens and Bokashi bins.
⛧Share waste is an amazing initiative, like tinder for scraps n compost. https://sharewaste.com/ Please share with your ppls, im still amazed that not everyone knows about this.
⛧Community gardens often have community composts. Most are very easy to find via googs or social media searches for your local community group . If you need help finding your local shoot us a message, we may be able to help.
⛧Bokashi bins use microbes to basically ferment the matter. Added benefits of space saving, you can if you wish compost some meat and dairy matters. Also, big props on being Ozzy! Check out their website for all th deets.
You can also DIY Bokashi style bins too!, extremely cheaply from mostly salvaged items. Get in touch for more info on this. I started setting one up, just for th experience of it, but then, life, eh.
⛧⛧⛧
Alhalrighty,..
Here, we have a rotating system. Collection, compost, rest, worm, rest, use.
Ive tried composting and worm farming a few different ways, and figured out what works best for us. I am yet to get a ph testing kit for th soil. It's definitely on the to-do list, and im pretty interested to see how it measures up in terms of microbes.
This is a rough overview of how our system is set up. It's very cheap, rodent proof, portable, renter friendly, and extremely easy to replicate. Each system will differ slightly depending on many locational factors, but the basics will carry over.

⛧⛧⛧Composting basics⛧⛧⛧
⛧Choose your vessels - Must have a lid, drainage holes in th base.
For a system like ours, you'll need at least three, and something to keep your finished product in, we use a fourth bin. It doesn't fkn matter what you use, you could use 10lt buckets salvaged from a restaurant.
We use 60lt plastic bins with holes drilled in th base. I do worry about th heating plastic leaching chemicals into the mix, as I would with any plastic, including commercially sold setups. Ive been unable to find much info on this. Please get in touch if you can point me in th right direction. Ive been tempted to buy galvanized metal bins, but for now, this is what I have. If you buy the metal ones, I would use a nail and hammer to puncture holes in the base of th metal bin, or if you have th appropriate drill bit, drill holes.
⛧Collect and add food scraps, and other organic matters. These are your NITROGEN **No animal products** Your compost is Vegan!
(Well for the most part, when get a nose for it you can add a little meat or dairy but as this is closer to a 'cold' composting system, and smaller quantities than a traditional 'hot' compost, there is more room for it to go 'bad' quickly).
Heads up - cut your veg up small, they will degrade quicker and less chance of them rotting and getting stinky, especially raw potato!! 🤢🤮Rotting potato is like rotten fish, cut that shit up!
⛧Add CARBON. Carbon is any dry leafy matter. Add some every time you add food scraps.
This balances the compost. Too much Nitrogen and your compost will be stinky sludge of anaerobic shit! Too much carbon and,..well,..it actually doesn't really matter, as long as you keep it moist, and airated, it will just be colder and slower.
If you don't have access to leaf litter, like most rental properties, have small yard, no real trees, or like us only get an influx at th end of summer, I've been getting the big ass compressed cubes of fine coconut husk coir, from that big green shed. Its great value for money, extremely easy to use, speeds up th whole process, and the end product is very light consistency. ( Ok so this was written pre pandemic price gouging, shit got expensive real quick! Try saw dust, or figure out what's abundant local to you, like cane fields, saw mill, etc).
⛧ ChWater, ChEarth, ChFire, Chair! (((Water, Earth, Fire, Air)))... Well,.. its more like earth earth water, fire, air, earth. Rep.
Keep it moist bebee! if your compost is carbon heavy, and super dry, give it a spray with the hose. Urine is an amazing source of nitrogen, adding some and watering in will balance the carbon and heat up the compost
Keep it in a sunny spot to help it warm up. Cold composts still compost, just a lil slower.
The more air the better, so turn it regularly. Turn it every time you add more scraps and carbon. I use a garden fork. Stick it in the bin and turn it.
⛧Once the bin gets to about 3/4 full, we start a new one. If you let it get to full, It gets hard to turn without spilling shit everywhere.
This full bin will now 'rest', and we start bin no.2. We keep turning bin 1 every time we add scraps and turn our now filling bin 2.

⛧Worm time! When bin 2 is half full, we start adding composting worms to resting bin 1, depending on how its looking. At cooler times of th year, its slower at breaking down. Worms don't love onion and citrus, but they will just kind of avoid that matter. We no longer turn this bin, just let chill with th worms doin their thing.

⛧Once the 2nd bin is 3/4 full, we rest it, and start the third bin.
Our first bin is now actively worm farming. If you can't see heaps of worms after gently turning, don't stress, they are likely to be in there towards the base. This system is not like a traditional worm farm that has a frenzy of tangled worms on top. You can add more if needed.
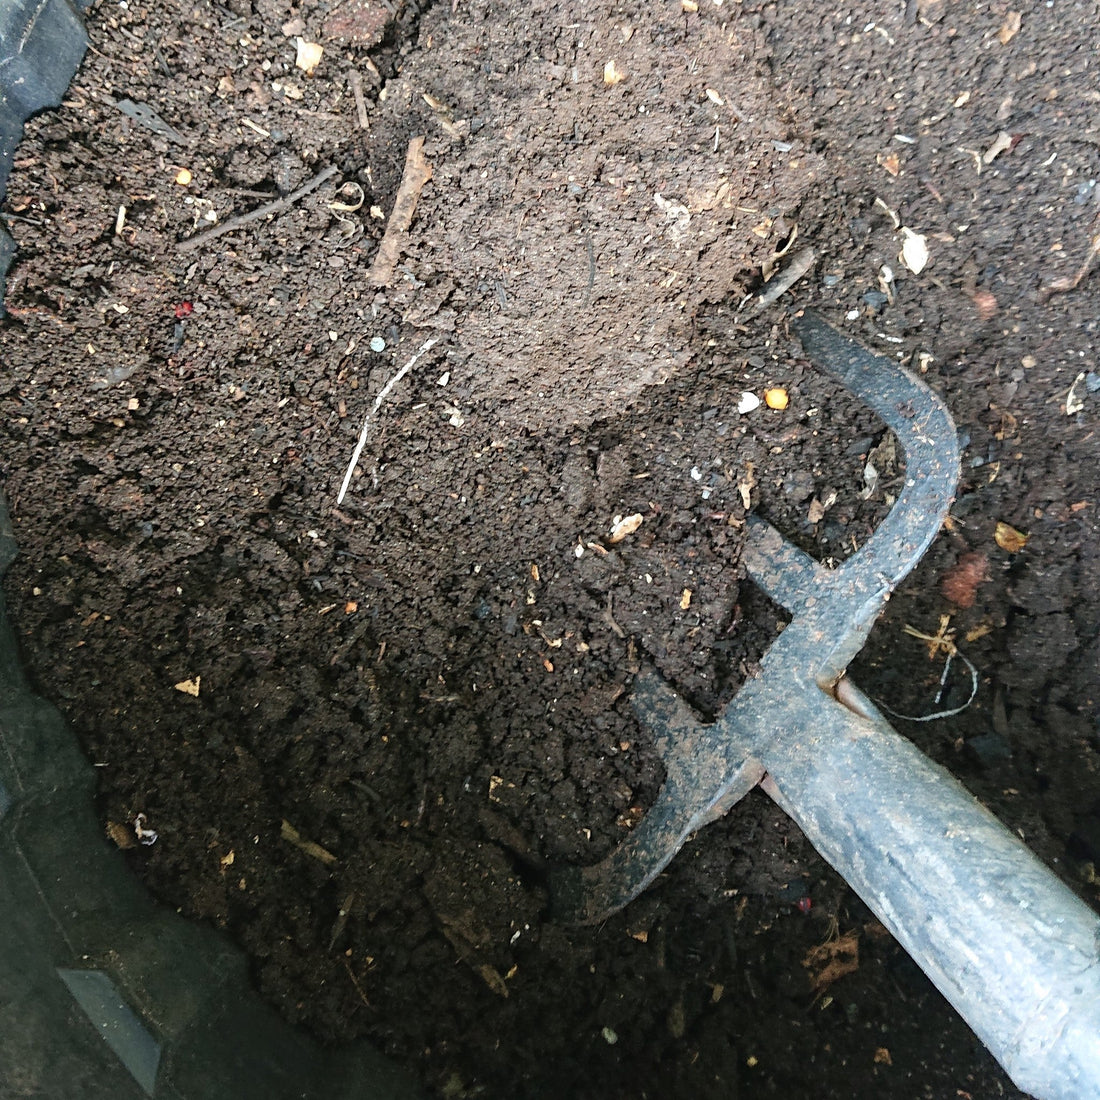
We now need to protect from heat too. Move to another position if needed. Place a damp newspaper or damp carboard under th lid of this bin and leave th lid open a little, allowing ventilation. I also store any old cardboard boxes on top of this bin. I have mostly emptied our worm bin, and added extra leaf litter, as shown here. I don't have a pic of a full worm bin.


⛧By th time your 3rd bin is full, your 1st bin should be pretty much all worm castings aka worm poop, and ready to use.
When using worm casting, especially if using in pots, mix it through other soil, e.g. old clean potting mix, and let it rest for a bit, like a few days, turn it, let it rest, then its good to go. If you put worm casting straight on plants, or pot them up straight in to it, it may burn your plants and roots.
I leave my ready mix in th bin, leaving th lid off to encourage the worms to move down to the base, so I can harvest from the top with less worms. Old potting mix bags are great to keep the finished product in too.
As I take out what I need, usually an ice cream container or two at a time, I pick out any worms, and throw them in the 'resting bin' and the next 'worm bin'.
If the ready mix sits there long enough, 6-12 months plus, ill use it willy nilly and not really worry about plant burn.
Pix below are of well rested worm castings bin. Its crumbly but still holds shape when squished


⛧If at any time, any of the bins stink, (like vomit tones, not earthy good) something is not right. Adding a fuk load of carbon, and turning several times a day, or as often as you can, adding more carbon as you do, usually helps.
Ive had times where an entire worm bin, overnight went from all good, to every worm coming to th surface in mass exodus, and then the next day it was a slimy stinky grave yard. Nfi why. Sometimes shit just goes wrong, other times it's very easy to see whats happening and fix it before it gets outta hand.

⛧Other things we do;
We have another bin to home any raked-up leaf litter and dry garden cuttings. It doesn't usually last long tho, we have half bin atm. Its beside the others, (front left in photo above), so i can grab and add carbon when needed. Generally, the bottom of this bin fills with worms naturally. Ive kept my bins in th same area for a few years now and the whole area is buzzing with life.
Yet another bin is our 'hive bin', breeding bin, that barely gets disturbed. I should probably check on them. When I do I throw in rested compost, or banana skins to keep them happy. This is where I take worms from if I need a bulk amount. Its just outta shot on th right, in pic above.
Then there is,.. drum roll,.. ✨ another bin ✨ This is an experimental one, just to observe, (behind the front left bin in the photo above). I filled it with paper from the kids end of year old school books that would have gone to the council recycling bin. I didn't rip them up or anything, just a stack in a bin. Pretty much only mentioning it bc it's in th pix above, beside th leaf bin.
Update on the experimental bin;
I kept it moist, kept adding compost worms and occasionally threw in banana skins and it did... absolutely nothing!! The worms chomped around the out side but with out any air between the paper it was as good as a brick. I'm not great at keeping track of time, I did keep taking photos with the intention of posting about it. I observed it over two years before I said fuk it and interviend.
⛧⛧⛧
Feel free to dm our fb page for more info or if you would like help setting up your system ✌